Do you know a new tool called “Send LinkedIn's contact to list” has been published in our catalog?
What can I do with this tool?
If you use this tool you can add a contact LinkedIn profile to a person list. You can setup the list where you want to save them (default: my-list). Contact research to get basic data is done if no basic data exists in our system. Really useful if you want to forward new contact data to Zapier or Webhooks.
After using this tool you will clean easily your data. If you want to know more about data cleansing, check our post How to treat your data (I): Formatting.
- This tool provides employee or company data. All european countries have restrictive emailing policies and you need an express recipient consent before using this data. Be responsible and follow GDPR rules!
Who can use this tool?
The tool “LinkedIn's contact to list” is designed for:
- ECommerce merchants
- Developers
- Data Scientists
- Growth Hackers
What values do I need?
To use the tool “LinkedIn's contact to list”, you need to have the following field/s in your file, database, form or application:
- profile (required). Sample: https://www.linkedin.com/in/miquelcolomersalas
- list (optional). Sample: my-list
What fields can I get?
If you use the tool “Send LinkedIn's contact to list” you will obtain next output fields:
- result: value
Testing on the web catalog
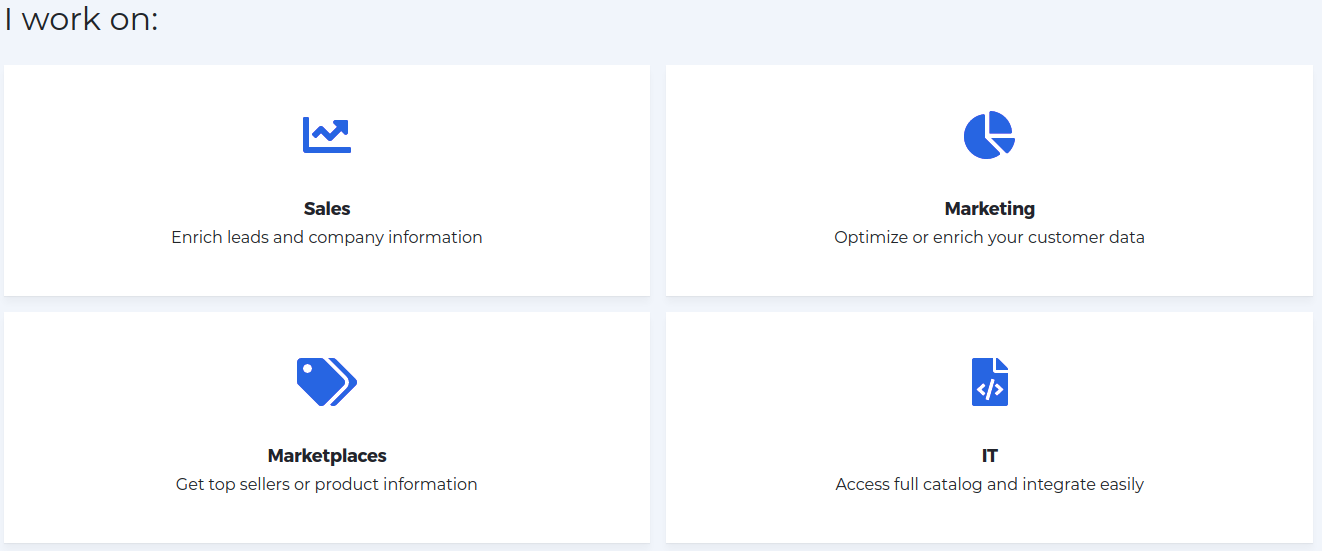
If you browse our catalog, choose “I work on It area”:
You can find tool several ways from the catalog:
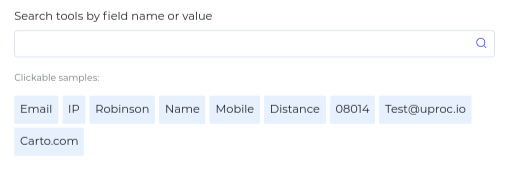
Writing “LinkedIn's contact to list” or any of tool params (profile, list) in search input, pushing enter and clicking on the tool
Clicking on personal > Send > “Send LinkedIn's contact to list” on “Category” view.

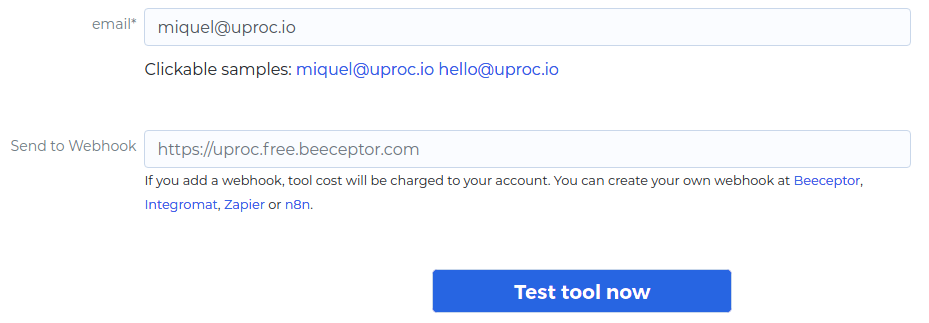
You can go to the tool page to test online for free.
After that, complete mandatory params on free test section and click on “test it”.
Using the tool from web wizard
Web wizard allows processing any file (download sample template), database or cloud application using existing data tools.
You can download a sample file to process it with our web wizard.
Choose your preferred data source and go ahead.

You can get extended details about wizard at “title”.
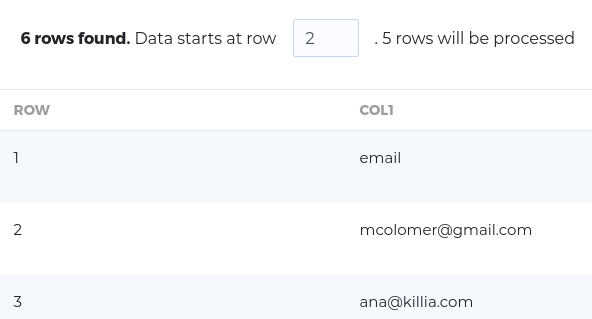
Now, you can see a data preview of your source.
Choose field (profile, list) or category (personal), action (send), tool “Send LinkedIn's contact to list” and assign columns to parameters.

Add tool to view the estimated cost and process it

Boosting data from Google Sheets
Before processing any data, check the next steps to get add-on working in your sheet:
- One logged account is required. Multiple accounts cause permission errors in this add-on. Logout from all of them and use only one account with Google.
- Install uProc for Sheets add-on from Google Apps marketplace with one connected account.
- You have to be the owner of the sheet. If you are not the owner, you need Editor permissions to process data from the sheet.
Open panel “Add-ons” > “uProc for Sheets” and choose “I work on It area”.
Select field (profile, list), select tool “Send LinkedIn's contact to list” and assign columns to parameters.
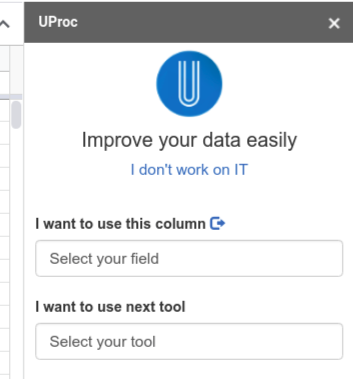
Ensure that your sheet has next headers: profile, list

Check “My sheet has headers” and “Process data”.

If your sheet has more than 200 rows, please use wizard instead.
Automating tool with Zapier
Zapier automates your business flow with any application you currently use in your workday.
Please, access to uProc integration to create zaps at Zapier.
To boost your flow, add a new uProc zap (you need to add your uProc account to Zapier)
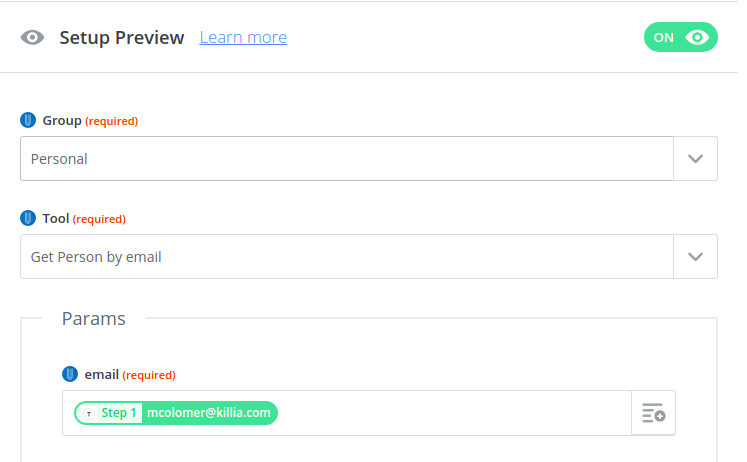
Choose the group (personal), tool “Send LinkedIn's contact to list” and assign values to “profile, list” using data from other zaps or fixed values.
Add more zaps to send data wherever you want.
Creating workflows with Integromat
Integromat is able to create business flows with any supported integration that you currently use in your workday.
Please, access to uProc integration to create Scenarios at Integromat.

When you want to create the scenario, write uProc to locate the integration and add it to the scenario. Click on Continue to go to the scenario.
Choose “uProc” in the available list and click on module “Select a Tool” to add it to the scenario (you need to configure your uProc account).
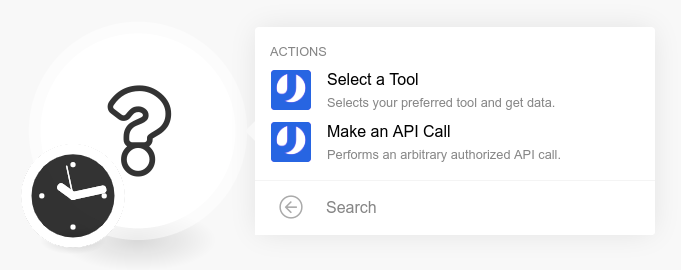
Choose the group (personal), tool “Send LinkedIn's contact to list” and assign values to “profile, list” using data from other tasks or fixed values.
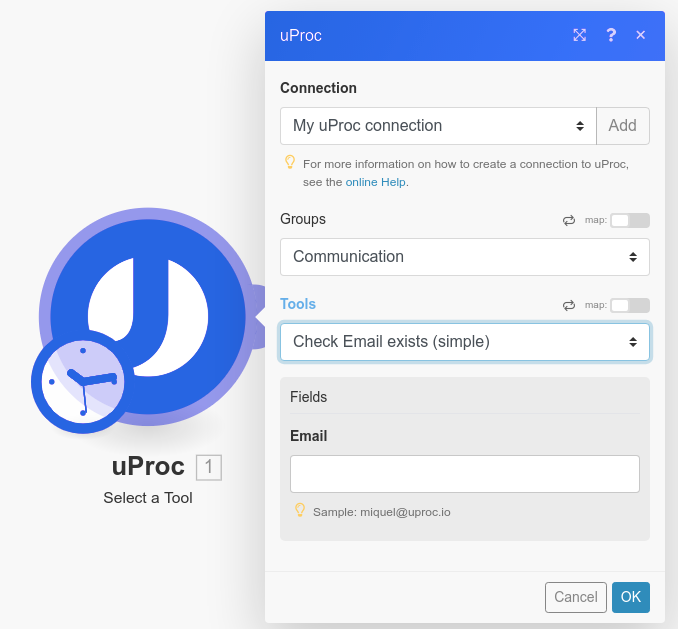
You can add more modules to create complex Scenarios and send data wherever you want.
Creating workflows with n8n
n8n.io allows you to create complex business flows without limits or costs.
Follow the n8n installation instructions from quick guide to install n8n on your computer or server.
Look for “uProc” in the list of available integrations on the right. Click on uProc, and add the node to the scenario.
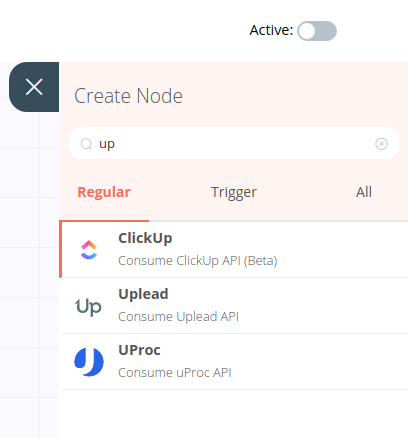
Configure your credentials, specifying the email, and the real API key on the node.
Choose the group (personal), the “Send LinkedIn's contact to list” tool and assign the values to “profile, list” using data from other tasks or fixed values.
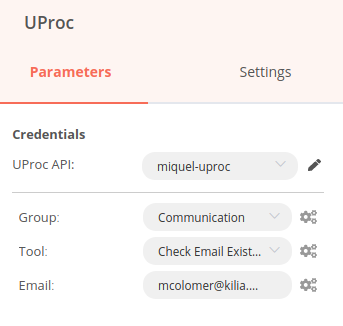
Link uProc with the Start node. Now you can click on “Execute Workflow” to run the node.
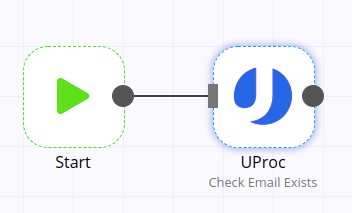
You can add more uProc or other service nodes to complicate your scenario.
Automating workflows with AppyPie
AppyPie automates your business flow with any application you currently use in your workday.
Please, access to uProc integration to create workflows at AppyPie.
First, click on “+ Create a connect” to create a new workflow and add the first step with another service (Google Sheets, Mailchimp, …).
Create another step and search for uProc integration (you will need to add your uProc account to AppyPie)
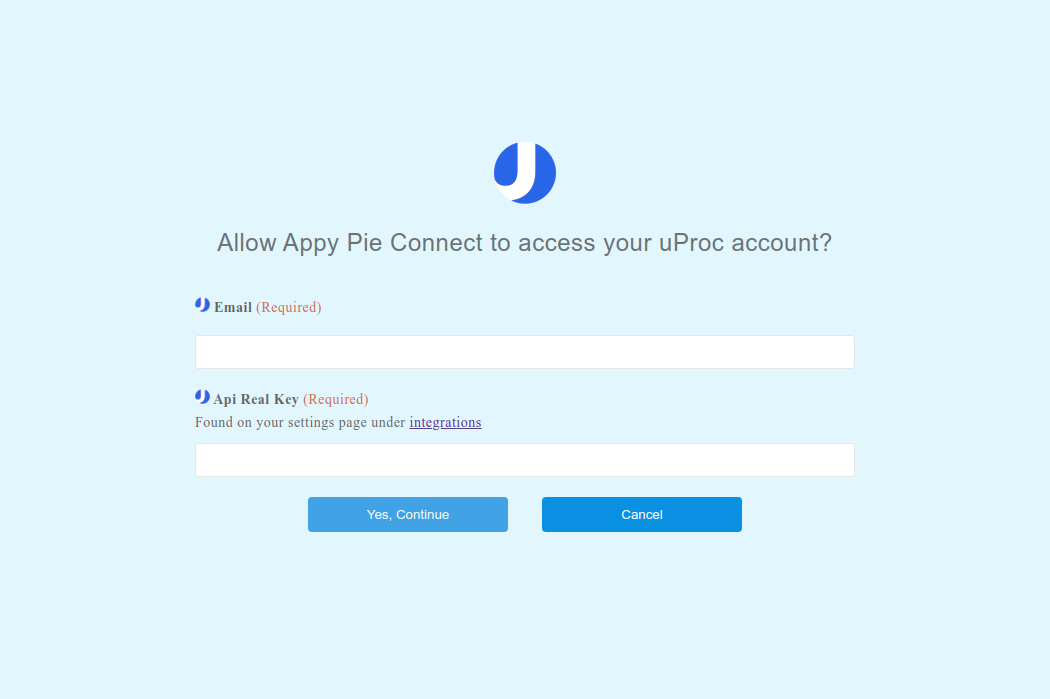
Authenticate with uProc adding your email and API Key (real)
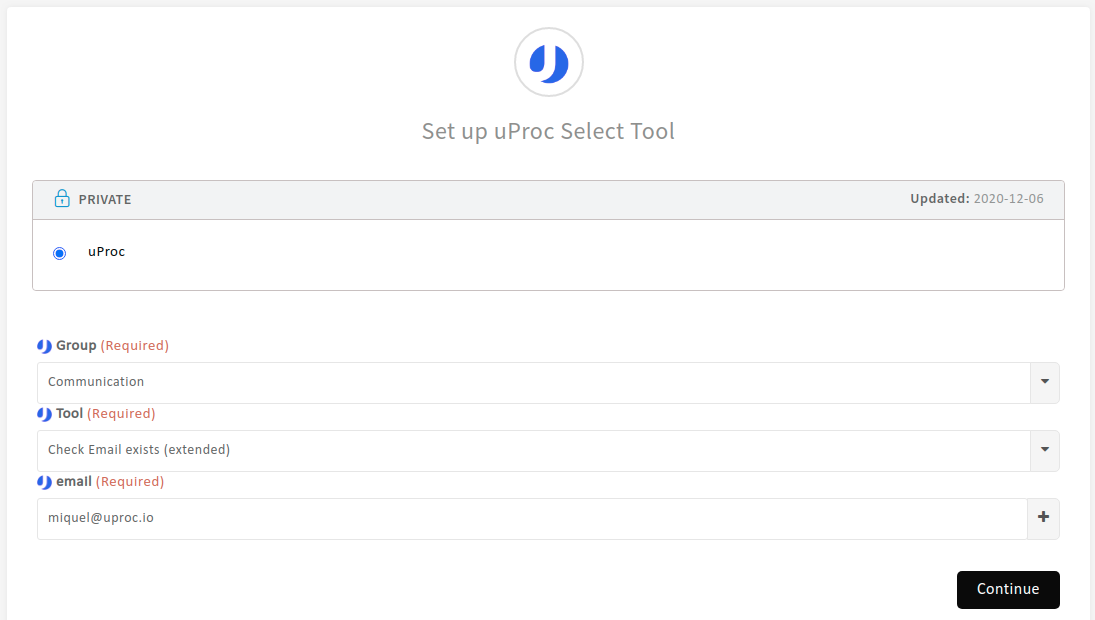
Choose the action “Select Tool” and the group (personal), tool “Send LinkedIn's contact to list” and assign values to “profile, list” using data from other zaps or fixed values.
Add more steps to create a complex workflow and do what you need with your data.
Use tool by API
Go to tool page and click on “Show API information”.
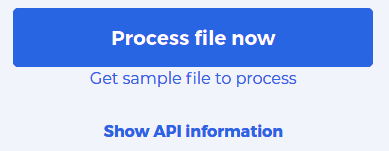
Choose your preferred language and method to process your data (one value, multiple values, or streams – files, databases, and cloud applications -).

Copy generated API code to your environment and launch it.
How much does it cost?
This tool costs €5 if you process 1000 rows.
If you have a lot of rows to be processed you can check our discounts at Purchase section, completing the next data:
How many rows do you want to process?

Choose field (profile, list) or category (personal), action (send) and “Send LinkedIn's contact to list”.

Click on “Add tool” to generate budget

You will see how much it costs processing your rows with “Send LinkedIn's contact to list”.
That’s all folks
Thanks for reading this post and enjoy improving your data.
You can make uProc better. Share your thoughts with us to add new tools or improve any other aspect of the platform.
Best,
uProc team

